Approaching DevOps correctly

As a frontend-focused developer, I’ve been appoaching learning DevOps the wrong way. After all, my job was to focus on user interfaces, making apps functional, and look beautiful. But there’s two (2) things I was very wrong at. First, I thought, I only need to learn it once I start working on production apps that already have thousands of users. Second, I thought I could learn DevOps by just taking cloud services certifications. But no, here’s what everyone should realize about DevOps.
-
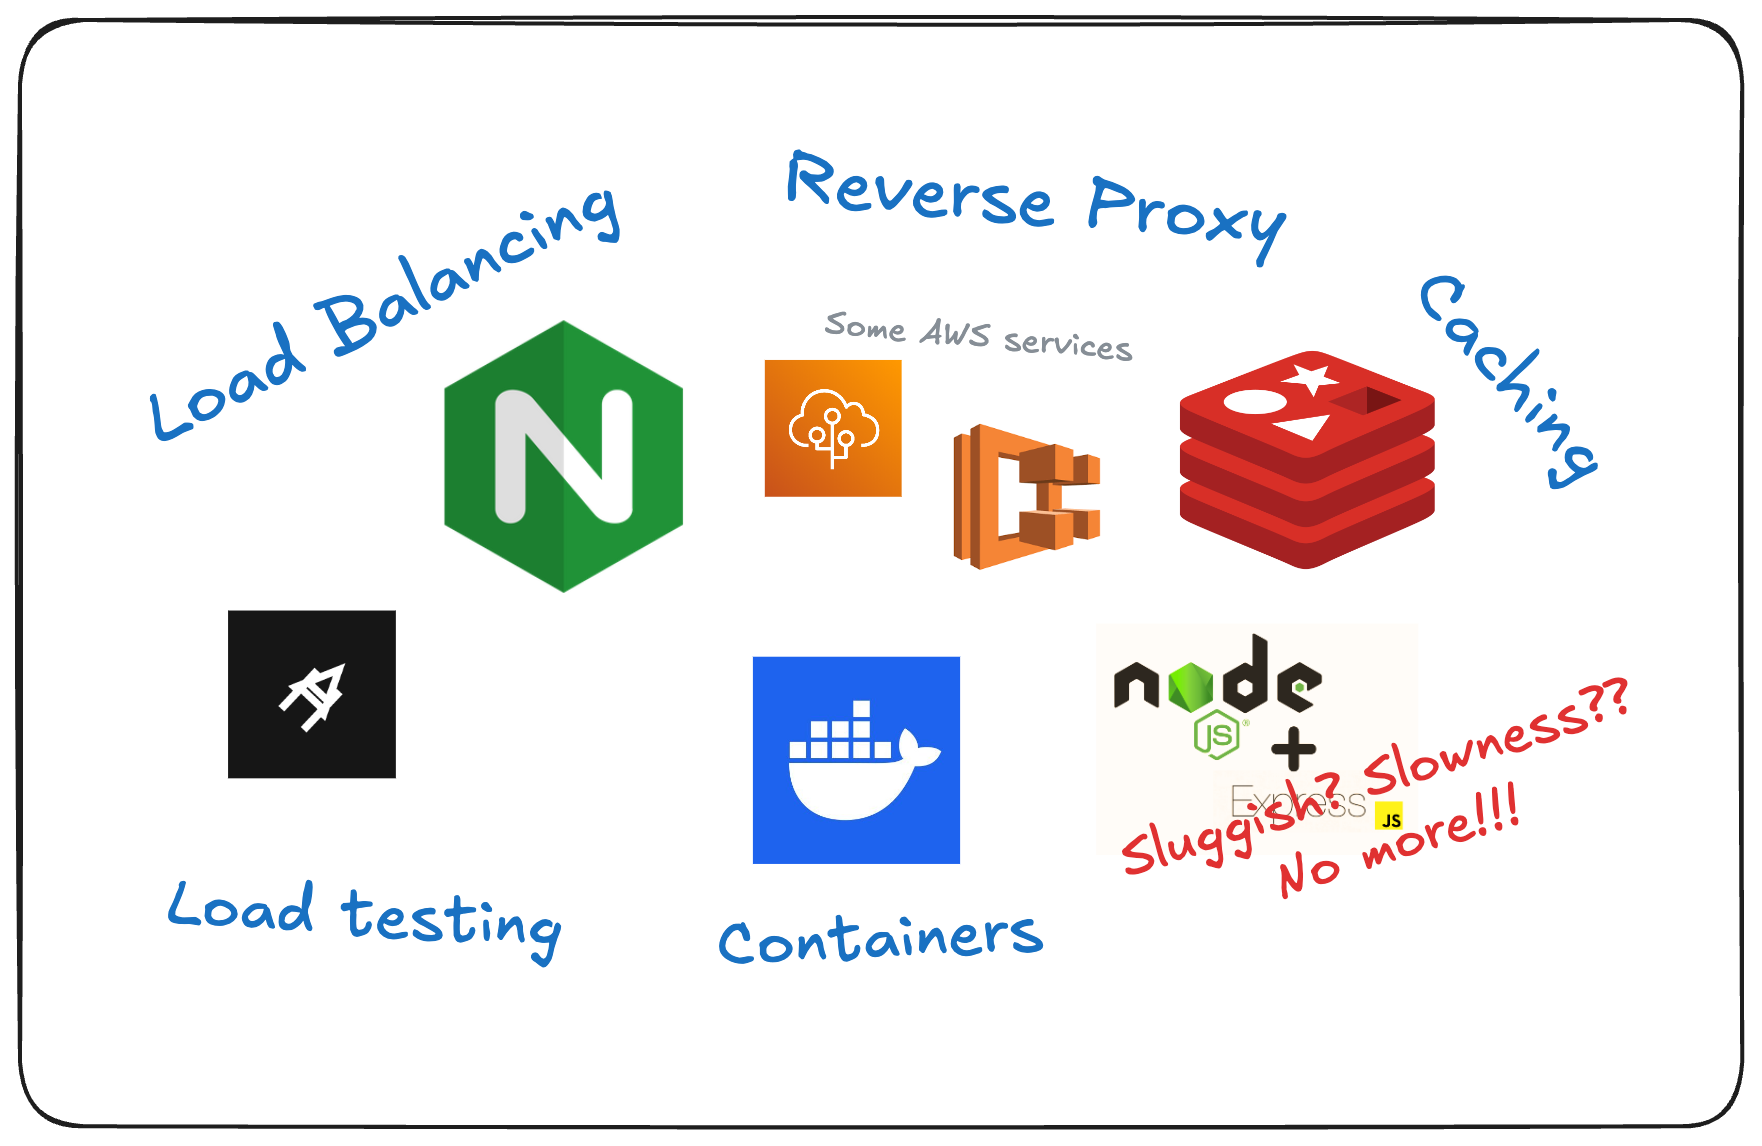
There are few concepts in DevOps that are super simple but is used most of the time to solve common problems around development and deployment of web apps. Caching in! Optimized DB queries in! Load balancing in! CI/CD in! You don’t need to learn them all! Just know what problems each of them solves and see if it can help you.
-
Online courses/certifications often only provide a lot of theory and instructions on using specific cloud-based tools but lack practical and real-world scenarios. So, you have to waste some of your time filtering out irrelevant concepts that don’t help on solving your problems.
So, our first move should be identifying where our app slows down. It’s hard to see performance issue locally, but, in production, with multiple users and increased load, you might experience bottlenecks such as slow database performance or server resource exhaustion.
Simulating real-world traffic locally

Load test result from a very slow API 🐢
This section is not going to be a detailed step-by-step tutorial, but rather, a list of best practices to ensure you get a more accurate picture of your API's true performance.
-
Do not ignore database performance - It’s very easy to write slow queries (it’s okay, we don’t need to perfect everything). That’s why the database is one of the most common bottlenecks. Just do a quick load testing on your API endpoints that have database queries and you’ll spot the unoptimized queries immediately.
-
Test your API on a production-like environment - If you’re testing locally, make sure your environment mirrors the hardware and configuration used in production. The number of servers, network speed, and server resources (CPU, RAM, disk I/O), can have an effect on the latency and the overall speed of your API.
-
Simulate high volume of traffic for testing - Just you, testing your API doesn’t accurately reflect real-world conditions where many users may access the API at the same time. The tool I recommend for this is Artillery. It’s free and easy to setup, perfect for someone who just want to get started with load testing.
Once you have identified where your app slows down, whether it’s from database queries, cpu (or memory)-intensive code, large disk operations (i/o), or network latency from having too much external serivces. It’s time for you to check some of the basic concepts from DevOps below and see how each can help you.
Solving common problems with concepts from DevOps
Slow response time
- Caching
Writing slow queries is inevitable, and if you can’t really do anything to optimize your database, caching can help sidestep some of the inefficienies. With that, we’re going to use Redis - a tool often used for caching due to its in-memory speed ⚡️.
To get started, make sure to install Redis on your machine first.
Next, install redis (the npm package) on your API server.
-
npm install redis
Then, create a single instance of redis (should be outside of your API route handlers)
// /utils.ts
import { createClient } from "redis";

let redisClient;

if (!redisClient) {
redisClient = createClient();
redisClient.on("error", (err: any) => console.error("Redis Client Error", err));
redisClient.connect();
}

export const redis = redisClient;
Finally, start caching those slow ahh database queries 😩.
import { redis } from "/utils";

router.get('/api/sessions', async (req, res) => {
try {
  // Check if the data is cached
  const cachedSessions = await redis.get('all_sessions');

  if (cachedSessions) {
    // If cached, return the data real quick ⚡️
    return res.json(JSON.parse(cachedSessions));
  }

  // Fetch sessions from the database if not cached
  const sessions = await db.sessions.findMany({
    include: {
      student: true,
      tutor: true,
      subject: true,
    },
  });

  // Cache the result in Redis with a TTL of 1 hour (3600 seconds)
  await redis.setEx('all_sessions', 3600, JSON.stringify(sessions));

  // Return the fetched data
  return res.json(sessions);
} catch (error) {
  console.error('Error fetching sessions:', error);
  return res.status(500).json({ error: 'Internal Server Error' });
}
});
Now, what if the sessions table has been updated on the database? Here’s how you update the cache as well, so it’s in-sync with the data from database.
// Example route to update a session
router.put('/sessions/:id', async (req, res) => {
const { id } = req.params;
const updatedData = req.body;

try {
  const updatedSession = await db.sessions.update({
    where: { id: Number(id) },
    data: updatedData,
  });

  // Invalidate the cache since the sessions table was updated
  await redis.del('all_sessions');

  return res.json(updatedSession);
} catch (error) {
  console.error('Error updating session:', error);
  return res.status(500).json({ error: 'Internal Server Error' });
}
});
With that, you just saved your database from exhausting its resources, and your users from getting timeouts! Check out the official docs if you want to learn more about using Redis on Node.js.
- Optimizing DB queries
For this one, we’ll focus on tackling the most notorious issue when querying something from the database - the n+1 problem.
Btw, the N+1 problem occurs when your code executes one query to fetch a list of items (N), and then for each of those items, it executes another query to fetch related data (hence the “+1” query for each item).
// Please don't do this!!
const sessions = await db.sessions.findMany();

const nPlusOneProblem = await Promise.all(
sessions.map(async (session) => {
  const student = await db.students.findFirst({
    where: { id: session.student_id },
  });
  const tutor = await db.tutors.findFirst({
    where: { id: session.tutor_id },
  });
  const subject = await db.tutor_subjects.findFirst({
    where: { id: session.subject_id },
  });

  return {
    ...session,
    student,
    tutor,
    subject,
  };
})
);
To fix this, ORMs like Prisma have an easy way for you.
// Yay! Fast query!

// If you're using Prisma
const sessions = await db.sessions.findMany({
include: {
  student: true,
  tutor: true,
  subject: true,
},
);

// If you're using TypeORM
const sessions = await getRepository(Session).find({
relations: ['student', 'tutor', 'subject'],
});
No more slow queries === Users happy :)
Server overloading/crashing (CPU or Memory exhaustion)
- Containerization
I will not get into details of Docker here. What I want to focus is, how it can be used to utilize the server's resources efficiently.
Before the era of containerization… To prevent our sever from crashing when there’s a high volume of traffic to our app, is to scale vertically (upgrading the server’s CPU or Memory).
Now, with Docker, you can just package your app in an isolated environment, create multiple instances of it, then do some load balancing.
- “He who knows how to handle the storm of traffic, wins the war.” - some dev (2024)
To get started, make sure to install Docker on your machine first.
If you’re new to Docker, watch this tutorial from Fireship to get a basic idea of how Docker works, then comeback here after.
Now, the goal here is to create multiple instances of our app and manage the instances without breaking a sweat. For that, we are going to use Docker Compose.
With your Dockerfile in place, we’ll create another file alongside it and call it “docker-compose.yml” (must be the exact name).
services:
app:                # 👈 change this to your desired service name
  build:
    context: ./     # 👈 the directory containing your Dockerfile
  image: api-server:latest   #  👈 change this to your desired image name
  ports:
    - "${PORT}"         # 👈 the PORT where your app listens to (gets the value from .env file)
  env_file: .env
  deploy:
    replicas: 3          # 👈 IMPORTANT: create 3 instances of your API server


#  👇 We'll get more into that at "Load balancing" section
load-balancer:
  image: nginx:alpine
  ports:
    - "9000:80"
  volumes:
    - ./nginx.conf:/etc/nginx/conf.d/default.conf
  depends_on:
    - app               # 👈 should match the service name of your API server
Then, alongside Dockerfile and docker-compose.yml, we’ll create the last file needed and call it “nginx.conf”.
upstream WebPool {
server app:4000;     # 👈 "app" is the service name you specified in docker-compose.yml
server app:4000;     # 👈 PORT should match what you declared in .env file
server app:4000;
}

server {
listen 80;

location / {
  proxy_redirect off;
  proxy_set_header X-Real-IP $remote_addr;
  proxy_set_header X-Forwarded-For $proxy_add_x_forwarded_for;
  proxy_set_header Host $http_host;
  proxy_pass http://WebPool;
}
}
Finally, run the command below to start your app.
-
docker-compose up --build
Once the build is done and your app is ready, you should be able to access it on - http://localhost:9000. Try making some API calls and watch the logs so you can see which of the 3 instances of your app is processing the request.
With that, you just achieved horizontal scaling 💪. The isolated instances of your app can better utilize the CPU and memory resources of the host machine by processing multiple requests in parallel. Additionally, there’s now a low chance of server crashes because of exhausted resources, but, let’s say one instance fails, others can continue to serve requests. From your users’ POV, your app is now more reliable.
- Load balancing
To be continued!
Conclusion